After a long delay in writing Making of I got around to filling the vacuum. Eventually by having more spare time I have decided to write an article by popular demand about the process of creating "Ikea Style" work, which became the leader and took the first place on CG Event 2011 in annual contest "Creation area" in interior design category.


As usual I guess that there is no sense to write about the modeling and showing the whole process because I don't think I'm a good modeler. Some of the objects weren't started from nothing; for instance, I managed to find the model of sofa online without any problems. Complexity of work is common taking into view the work on details like switches bolts, handles e.t.c. I will show you some models in the initial stage.


Okay, let’s get started!
Searching references:
It wasn't hard to find them because all ikea goods are kindly furnished on producers’ website.

Regretfully I couldn't find some elements on the website maybe they are discontinued the line.
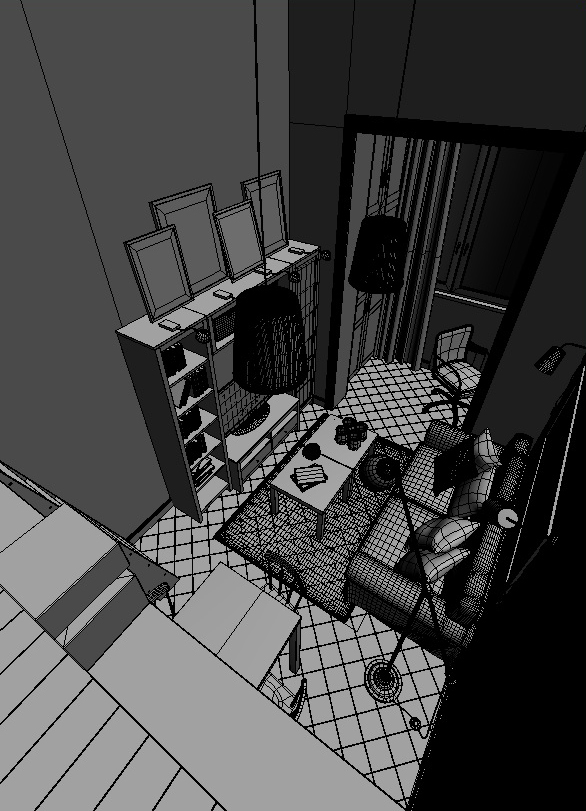
MOLEDLING:

Then I began to add all further elements into the scene, refining the room with small thing and décor. After the visual volume of the room had satisfied me, I began to construct scenery spots, other words to install cameras which would take part in final rendering.


After the scenery spots had been installed, I began to set up the illumination
ILLUMINATION:
For the strip lightning I used Vray Sun and VraySky together choosing some unusual angle for sun rotation. This choice is conditioned by the fact that without direct sunlight there is more skylight but still the sun gives the place some light.


After the natural illumination had finally satisfied me I started to set up the artificial light in the scene. Seen below are the schemes of lamps arrangement and their data.


Data is given below.

Then the rendering in gray color took place, I used it to see how good the shades and their deepness were spread.

MATERIALS:
Materials in the scene are very simple, that's why I will show you the most interesting which are on the central and big part of the scene.
Tile:

Kitchen fronts and lacquered furniture:

Floor lamp:
Chairs:
Marble countertop:
Walls:
Ceiling:
Sofa:

Wood:

Render Presets:
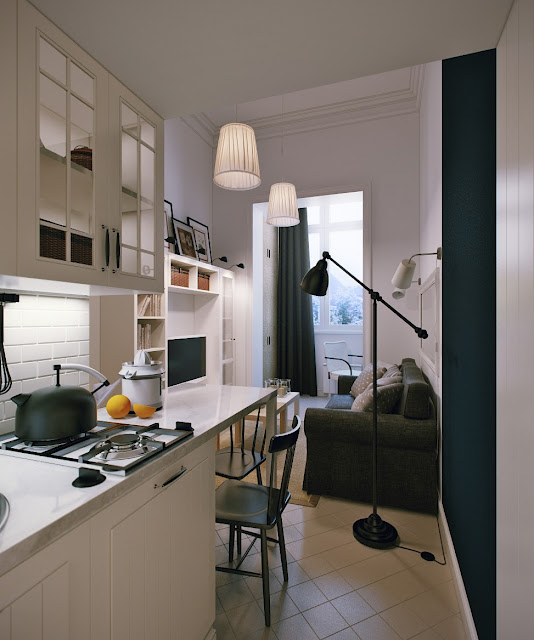
After the final rendering I got the next result:


Then the final stage was the post processing. Now the final images are ready to be shown to the customer.


I hope you enjoined it my dear ☺ I will try in the future not to loose patience and impression and as a result to please you by my new projects and articles about creations. Sincerely your, Bolotkin Vladimir.
P.S.
For re-post link is necessary. http://3d-connected.blogspot.ru/
For re-post link is necessary. http://3d-connected.blogspot.ru/
VrayMtl / Diffuse map - VrayEdgesTex
ОтветитьУдалитьHello Vladimir. Which card and what kind of values do you use for the material Diffuse: tile ,lamp, chairs, marble, walls, ceiling. Thanks
ОтветитьУдалитьThe colors in the diffuse slot correspond to the colors that you see. I do not see any reason to write these values. It's a waste of time)
УдалитьInterests what card on a diffuse you use on material a wall. thanks
УдалитьHello Vladimir,
ОтветитьУдалитьI sent you an email. Please check if you received it. Still need this scene.
Thank you!
Cheers Paul